So I decided that a bag was in order. I thought that he might like one of what I call a drawstring backpack. We actually already own two. But one came from Poptarts and is a bright pink. I didn't even ask him about it. I knew better than to bother. The other is black and would be fine except for the insignia on the corner in bold print -- "Girls Rule." Whoops.
I looked at a couple of stores when I was there already. The only one I found had a local sports emblem on it (one that I normally would not be allowed to bring into our house :) ) and costs a whopping $7.00. Is it made of silk???? These are not exactly the kinds of things made to last.
So I went for a dig in my fabric stash and pulled out this blue cotton. It is actually part of an old sheet that I had already cut up. By the way, you can usually get old sheets at the thrift store for a dollar and they can be used for all kinds of things. The Chick has some very pretty butterfly curtains that used to live as an unwanted sheet. They have been much more appreciated as curtains and it only required 3 or 4 seams.
 I folded it in half and cut it to about the size I wanted the bag to be. Then I sewed a side seam, beginning about an inch in from the fold and ending about an inch (although I think I would make it 1 1/2 to 2 inches next time) from the top edge. If you look closely, you can probably see the seam in this picture:
 I then ironed a small fold in each side of the top and then folded it again with a larger fold to make the casing (like a tube to hold something - usually elastic) for the drawstrings. I finished each end on both sides because I don't like buttonholes which would have probably worked better. These are where the drawstrings will come out and make the shoulder straps.
 Then I sewed the casing closed and since I was feeling persnickety, I caught the edge of the inside seams in it too. I don't know that it will help keep them strong but, like I said, I was feeling persnickety.
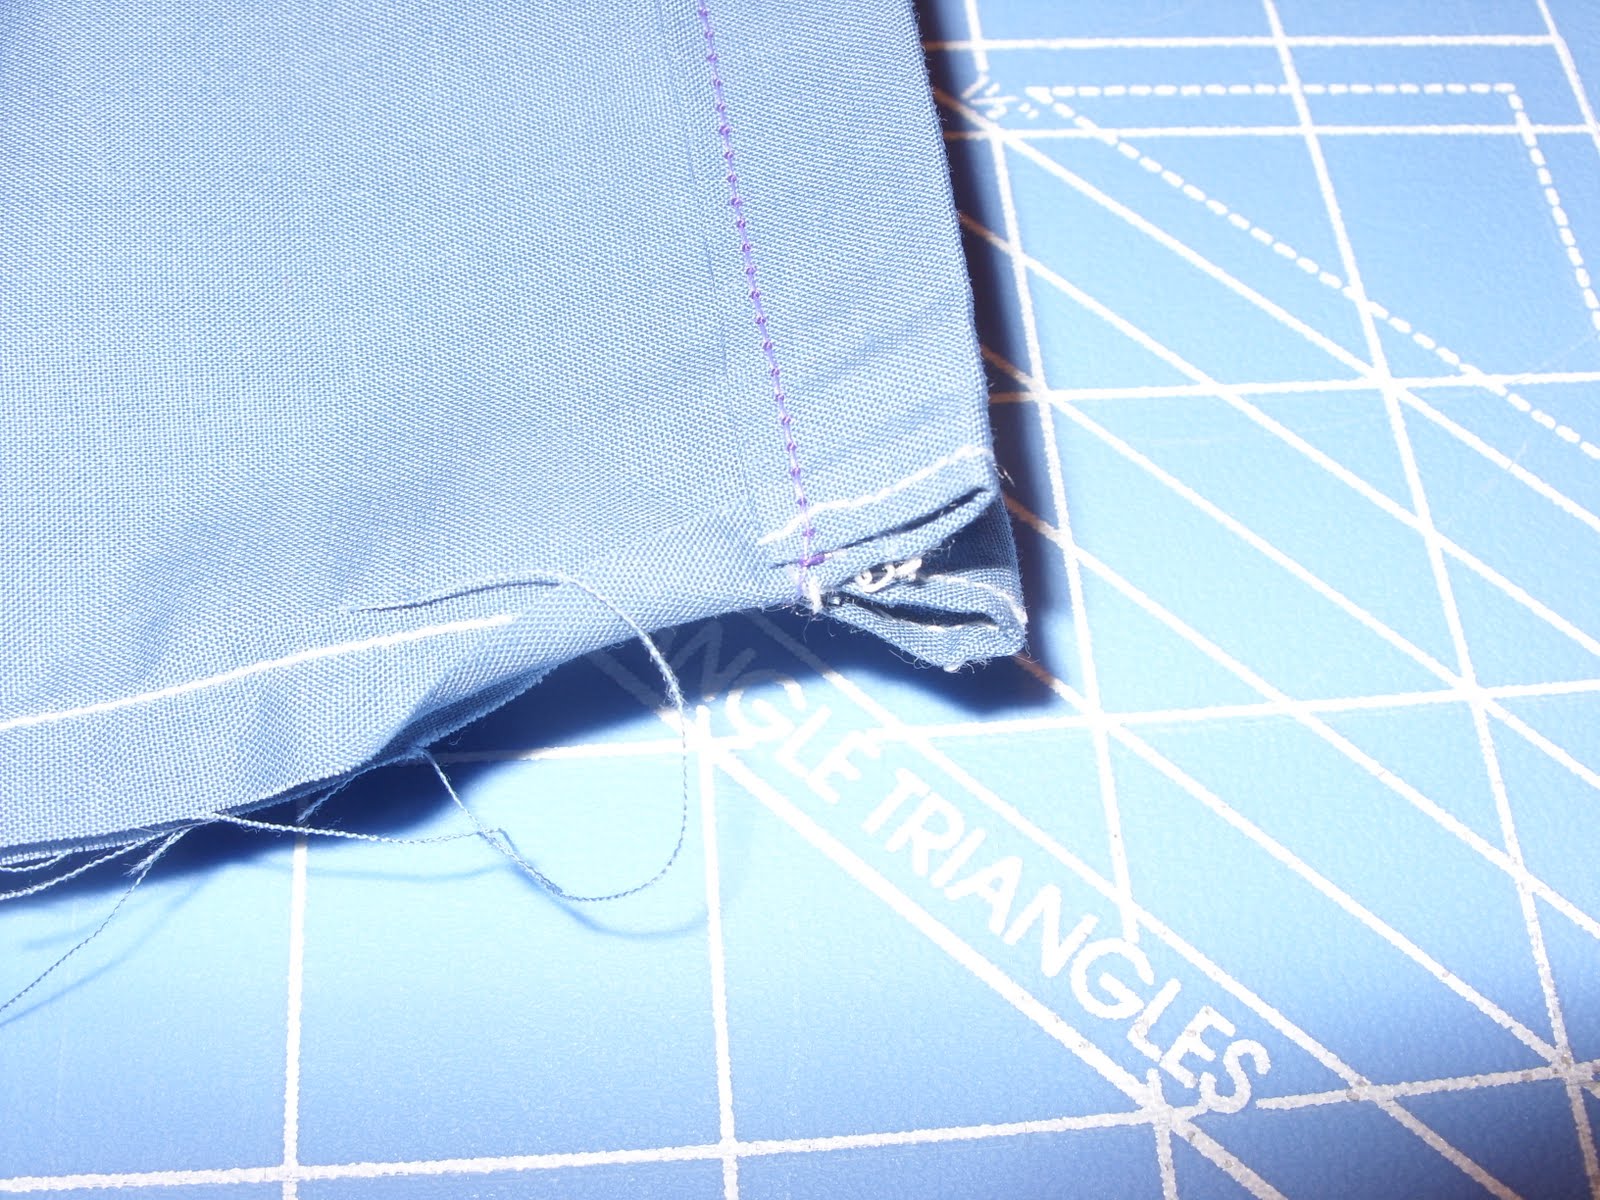 Then if you're like me, you hop in the car and go to Wal-Mart to buy some cord because the only cord you have is gold Christmas cording and a pretty light pink colored one. If I used either of those, I might as well make him carry the pink Pop-tarts bag. You could also use twill tape (if I had any) or ribbon would work well too. I'm sure the Dude would have looked askance at me if I had stuck ribbon in there.
Cording is cheap too. It usually runs between a quarter a yard to seventy five cents. When you get back home, first you'll need to put away all the extra you bought so you don't have to make a run again in the middle of project. Once that's done, sit down and get ready to thread it through the casing.
Funny story here: my mom once opened her door to her frustrated neighbor friend. The poor lady came over to ask for help because she just couldn't seem to get the elastic pushed through the casing. Mom said, "Sure I'll help. Where's your safety pin?" (or something approximately similar). The lady replied (approximately again) with a blank look and said, "Safety pin?"
You want to use a safety pin. Just trust me on that.
Attach a safety pin to the end and push it through until it comes out the other side.
 From there, push it right on into the other side's casing and when you're done, the going in string and the coming out string will both be on the same side like so:
 Do the same thing again only this time start on the opposite side. If the casing isn't large enough, you'll either have to open it up and make it larger or find smaller cording. If you're using twill tape or ribbon, it probably won't be a problem.
To finish it up, you simply turn the bag wrong sides out. From the inside (right sides), tuck the ends of the cord into the holes you left at the bottom. From the outside now (wrong sides), you'll only see the ragged ends of the cord -- nothing else. Sew the holes closed with the ends in it. Trim them. Turn it back out so the right sides are showing and voila...
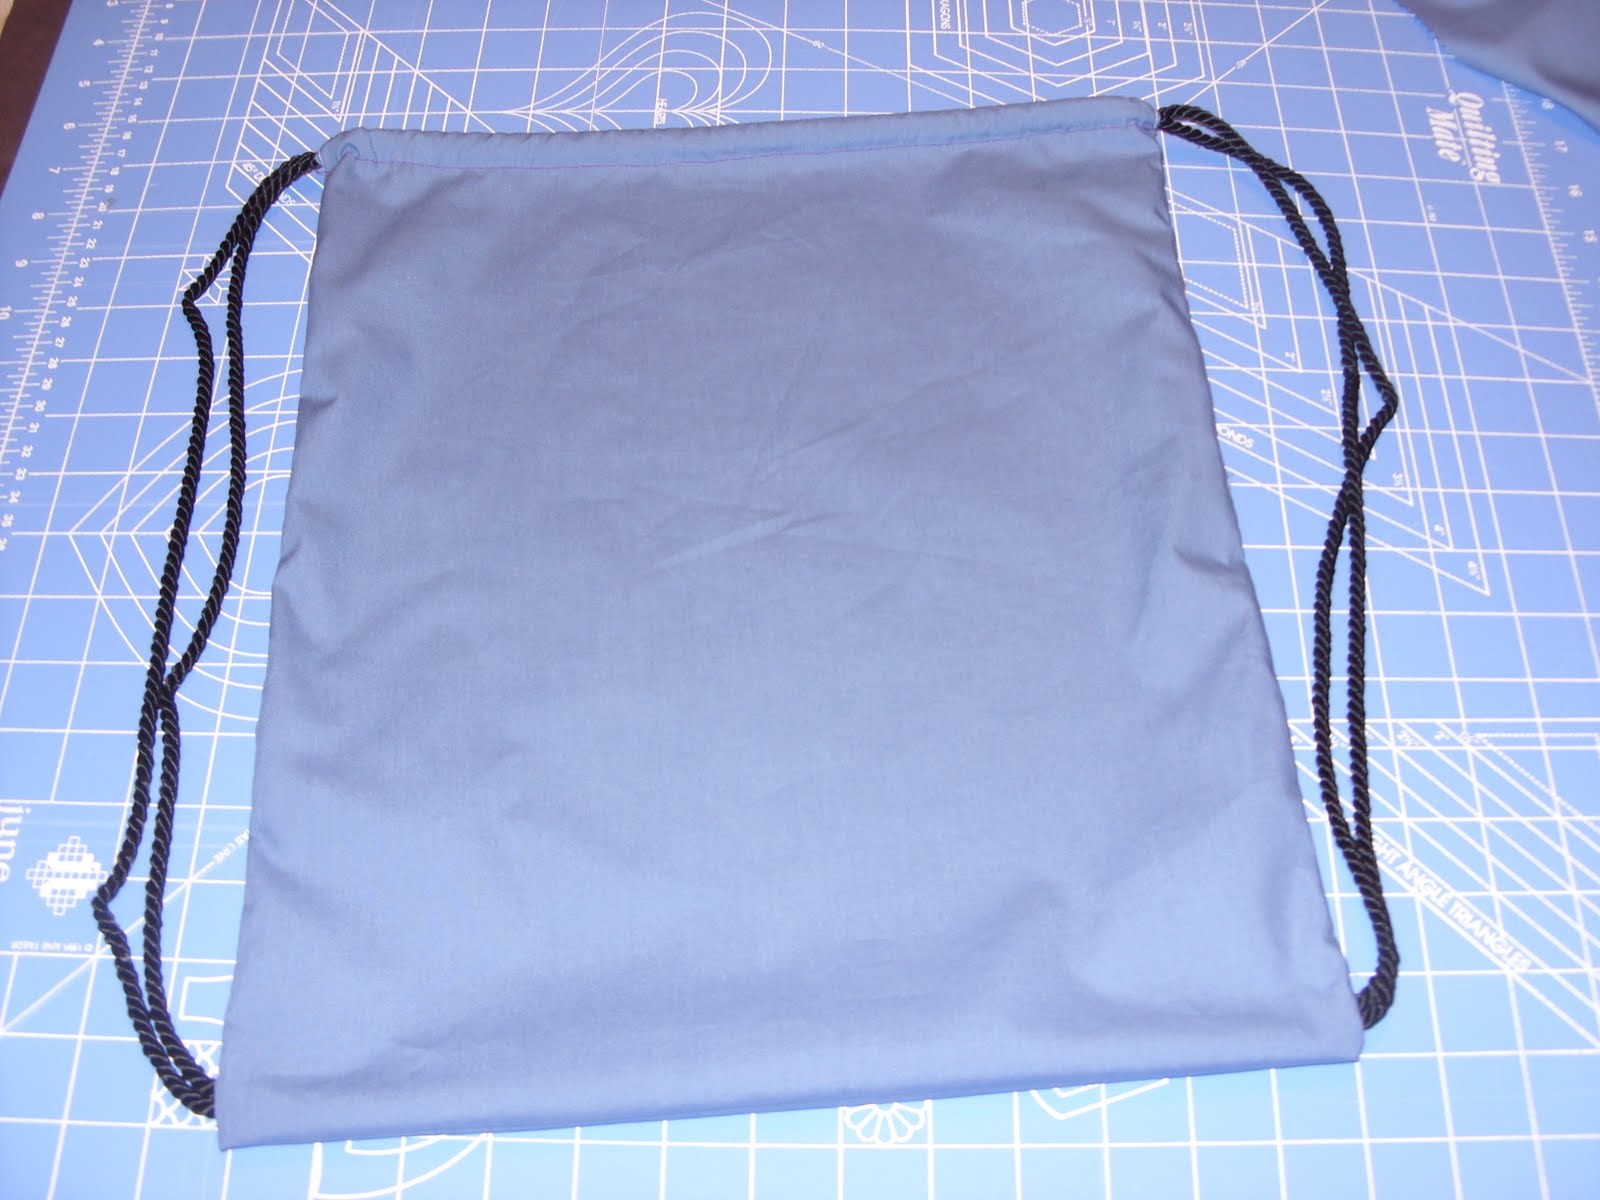 I hope that wasn't terribly confusing. I was pretty happy with my first attempt. So is the Dude.
I really had to resist the urge to embellish. That must be a girl thing. I was tempted to put a big initial or two on it. Or maybe cut a block out of one of his old school shirts with the crest on it and applique it on.
Later, it occurred to me that it would be easy to embellish it without being quite so cheesy. They sell in the printer section, packets of iron on transfer paper to use in your printer. Any photo program or print artist type program would have pictures that would work. A skateboarder. A basketball player. A football helmet and ball. They all would have looked cool.
If I had wanted to get really fancy, I could have gone to the school's website and imported a picture of the school crest into my photo program. From there, I would have just had to reverse it and print it on the transfer paper. Centered and ironed on, it would have been uniquely his.
You know my love for drawstring bags. I definitely want to try making a few more of these. They're really handy for trips across town where a tote bag just doesn't do it. And particularly handy since you can slide the straps over your arms and wear it like a backpack.
By the way, if you'd like to make it a little more water resistant, spray it down with some water repellent spray. You can find it in the camping section. It's used typically for weatherproofing tents and such.
No comments:
Post a Comment